While browsing through songs, movie trailers, or funny videos on Youtube, you might want to capture a particular moment and share it with your friends. Here’s how you can take a screenshot on Youtube.
PRO TIP: Click Here to Skip Directly to our Recommendation!
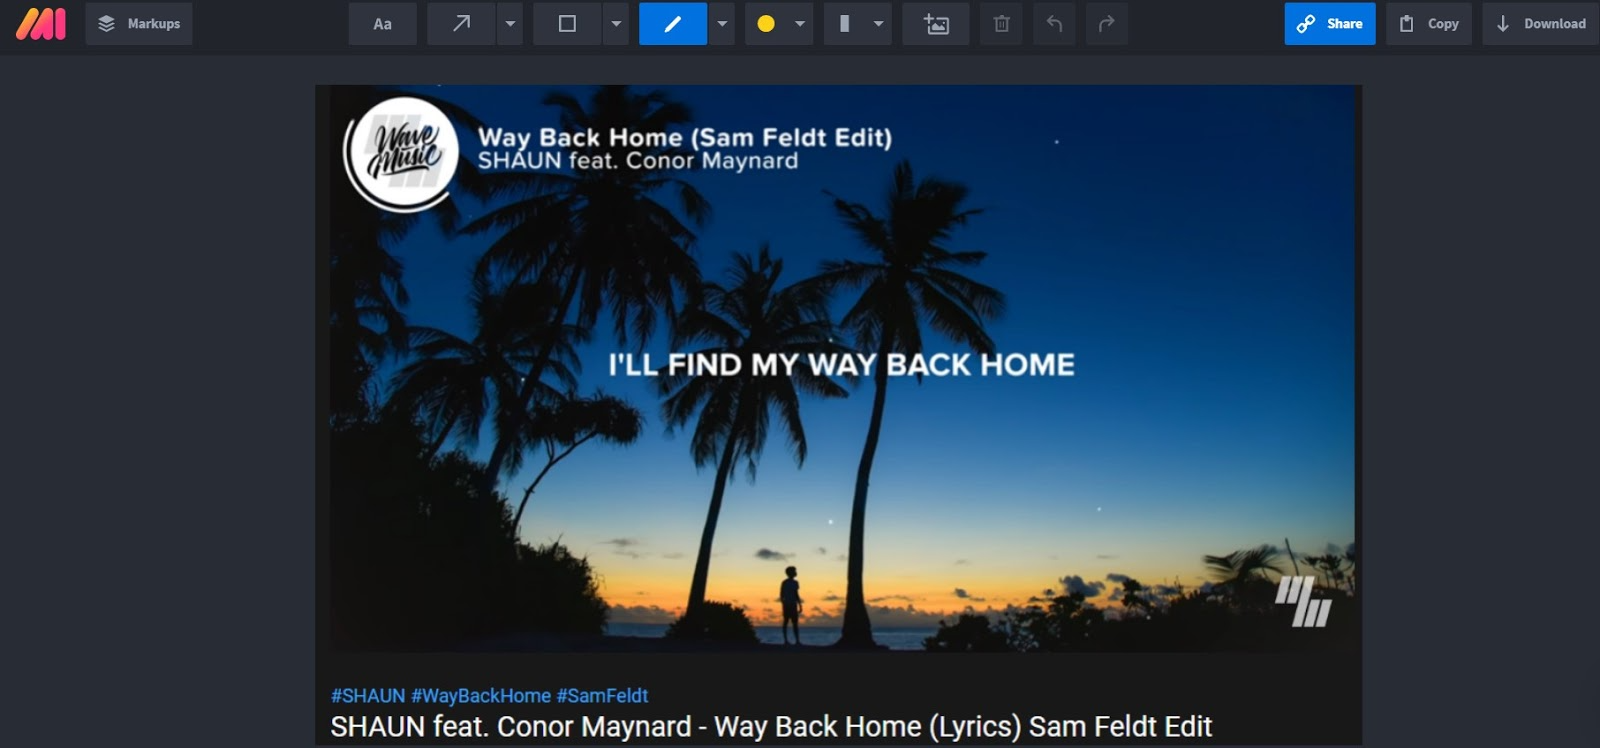
Remember hearing Shape Of You by Ed Sheeran for the first time in your life? Remember how your feet tapped unconsciously and your hands synced with the beat? You couldn’t help but dance to the opening riff of xylophone, and when you finally got to your best mood, you had to share it with your friends. It felt horribly wrong to keep something so good all to yourself. That’d mean you had to copy the link and later paste it to a social or a messaging app to share it with your people.
But what if you wanted to capture a specific moment of that video, like the instant where Ed Sheeran makes a move with his boxing gloves on? That is exactly where a screenshot would come in handy. A screenshot refers to an image that captures everything that appears on your screen. With the ability to take screenshots on YouTube, you can capture anything ranging from funny to informative. Here’s how to take a screenshot on YouTube.
How To Take Screenshots On YouTube On Windows 10
Method #1: Pressing Windows Key + Prt Sc Simultaneously
This is the down and dirty easy way with minimal functionality.
1 — Press the Windows key and Print Screen (Prt Sc) together. Your screen will flicker for a second. This will imply that your device has successfully taken a screenshot.
2 — Go to Local Disk C: > Users > [username] > Pictures.
3 — You’ll see a folder named ‘Screenshots’. All your screenshots will be stored there. Or you can press Ctrl + V together to instantly share that screenshot with your friends. Alternately, right-click and select ‘Paste’.

Method #2: Snipping Tool
Windows has a brilliant built-in feature known as the ‘Snipping Tool’ which lets you choose how much or what portion of the screen you want to capture. This tool works perfectly well on all Windows models no matter which device you’re using.
1 — At first, click on Start and type ‘Snipping Tool’ in the search bar. After the application opens, you’ll see a variety of options in front of you.
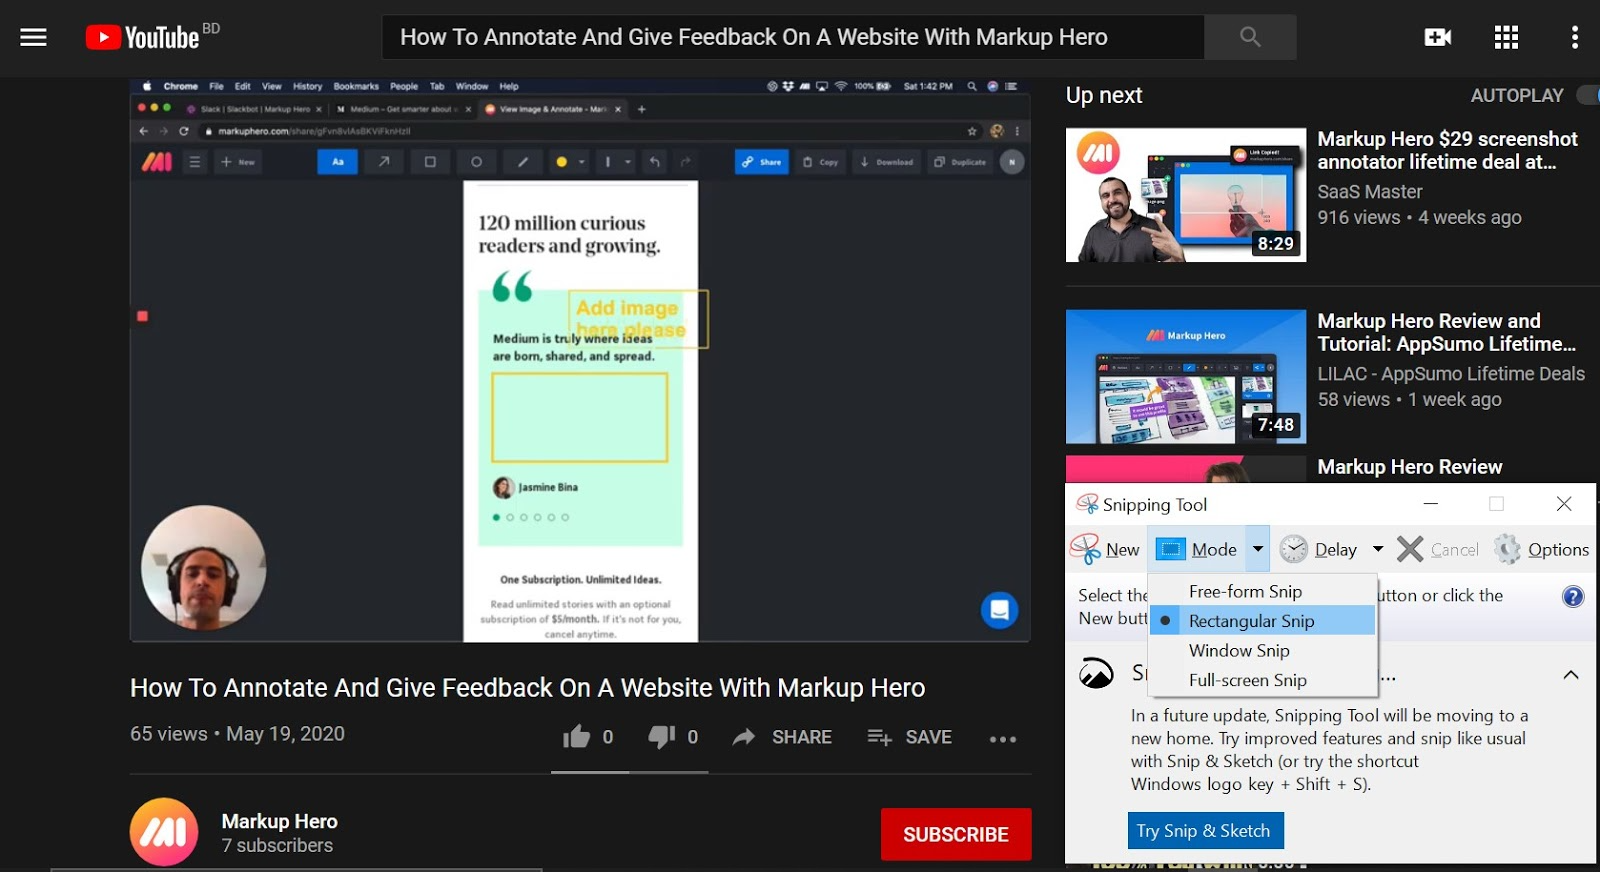
2 — Different modes in the Snipping Tool will allow you to choose how much of the screen you want to capture. The ‘Rectangular Snip’ is the standard form. The ‘Free-form Snip’ lets you capture the screen in any shape you want. The ‘Window Snip’ allows you to capture your window with one simple click. And finally, the ‘Full-screen Snip’ captures your entire screen at once.
3 — Click on ‘New’ or press ‘Ctrl + N’ together. A crosshair icon will appear using which you can capture your snapshot. Press Ctrl + S simultaneously to save the image.
Method #3: Windows + Shift + S
This method is basically a shortcut to the Snipping Tool. All you need to do is press Windows + Shift + S simultaneously and whatever you capture will be copied to your clipboard. You can either paste the image directly by pressing Ctrl + V or click on the pop-up that appears at the bottom right corner of your screen to edit and save your snapshot.
How To Take Screenshots In YouTube On Mac
In the case of Mac, just press Shift, Cmd, and 4 together. And that’s it. All your screenshots will be saved to your desktop by default.
Take Youtube Screenshots with Markup Hero Instead
How about this? Instead of going through how you can take a screenshot on Youtube via different devices, you can use a single tool that is not only compatible with every one of them but also offers you a diverse set of features to work with.
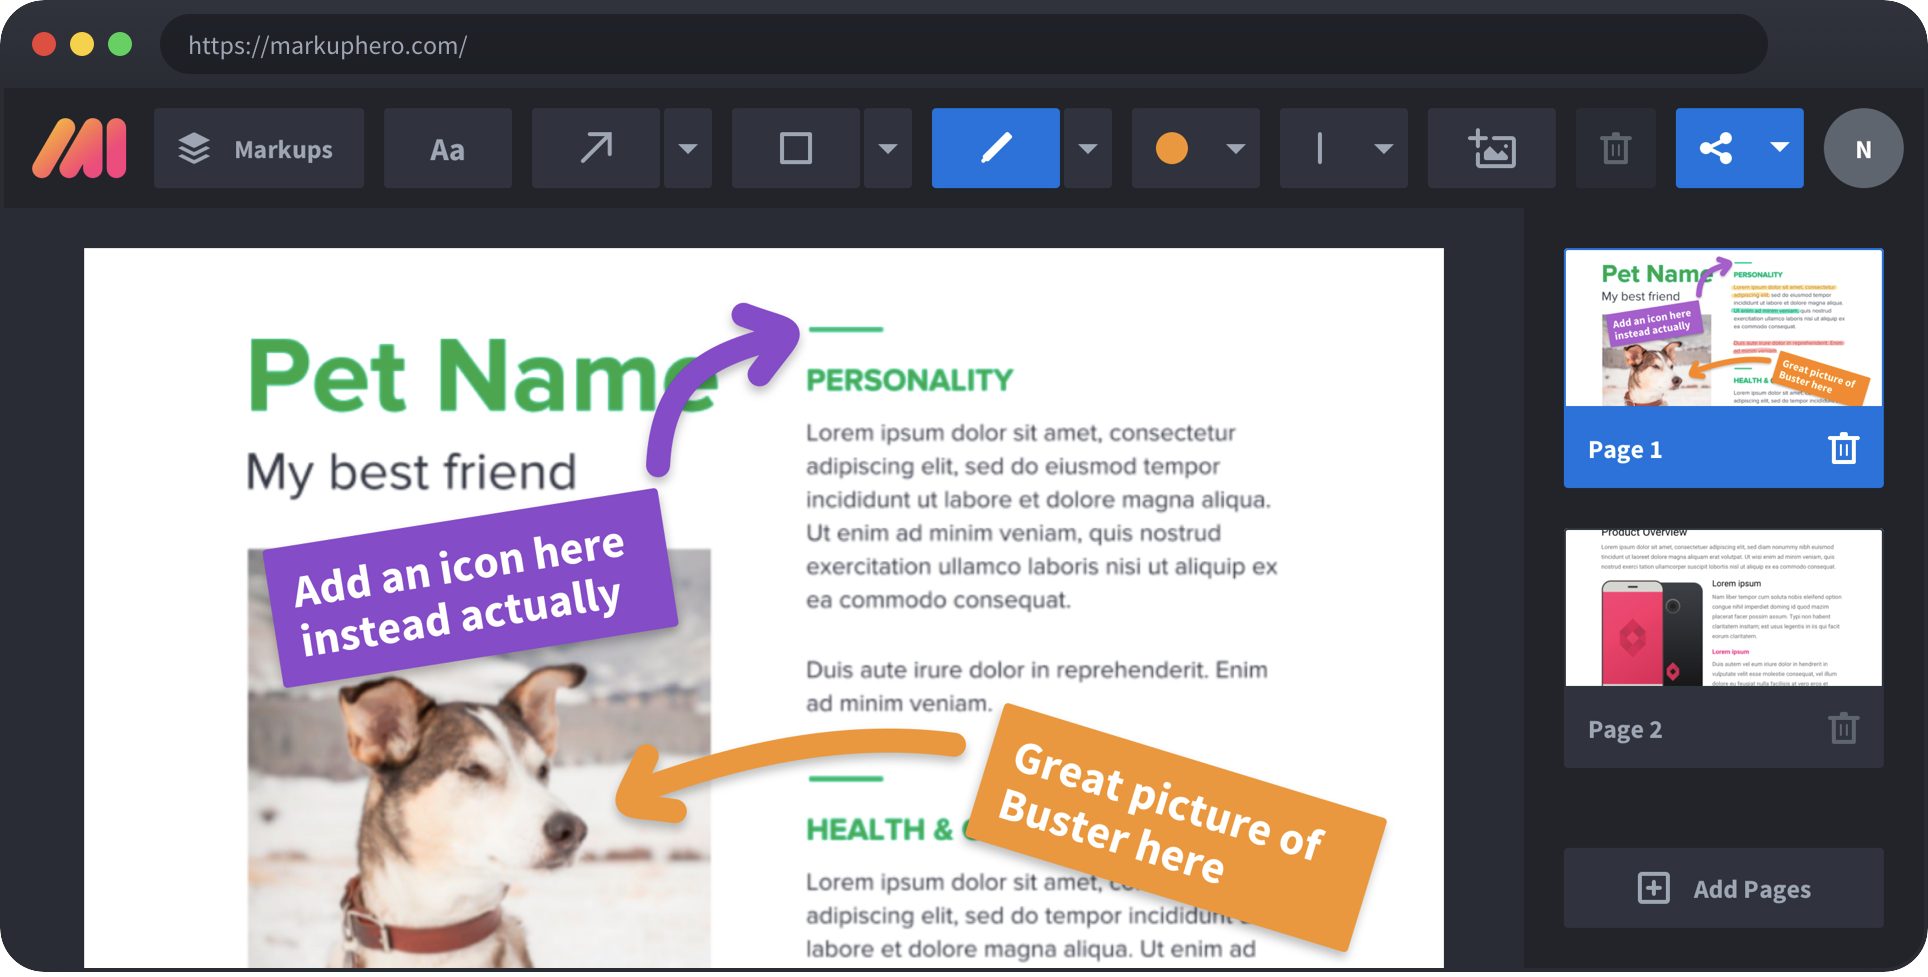
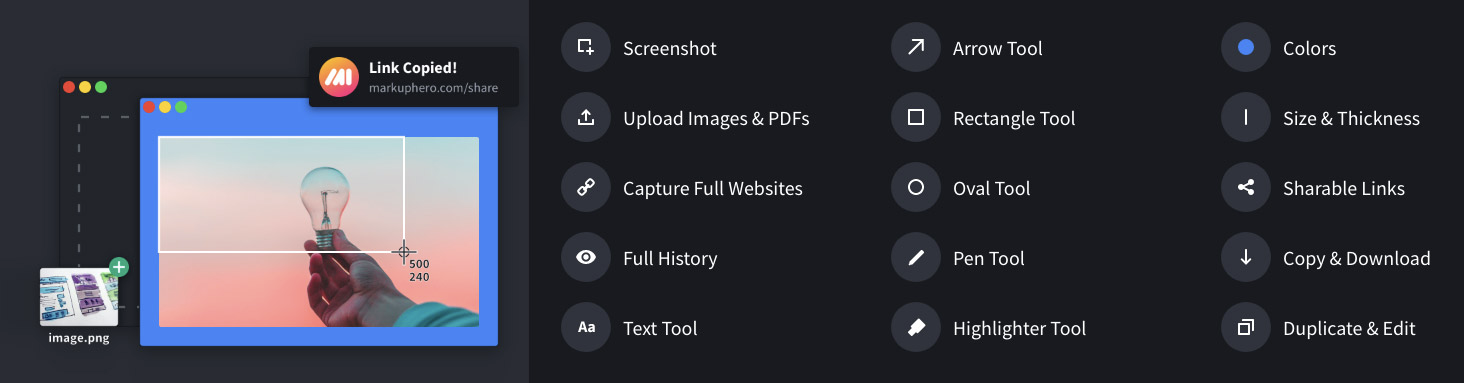
With the help of Markup Hero, a simple yet incredibly screenshot and annotation tool, you can not only capture your favorite moments but also edit them on the go. Markup Hero is perfectly compatible with Mac, Windows, Linux, and Chrome alike. You can mark and annotate your snapshots and then organize and store them in separate folders. Additionally, you can share them with your friends and colleagues whenever you wish to. Here’s how to take a screenshot on YouTube using Markup Hero:
1 — Download Markup Hero - First, you need to download the Markup Hero app. It’s completely free of cost and you don’t need to sign up anywhere.
2 — Install Markup Hero - Once the download finishes, go Local Disk (C:) > Users > [username] > Downloads. Double-click on the .exe file to start the installation.
3 — Start Using Markup Hero - And that’s all you need to do! If you’re using Windows, press Ctrl + Shift + 1 together to start the application. If you’re a Mac user, press CMD + Shift + 1 simultaneously to get started. Once a crosshair icon appears, drag it till the part up to which you want to capture your screen.
4 — Share Your Screenshots - Instantly, Markup Hero will upload the image on the web. The tool offers you a number of features to work with using which you can edit and annotate the image. You can add texts, draw arrows and annotate your snapshot however you deem fit.
So What Makes Markup Hero Better?
With all those free options built into Windows and Mac, why would you use anything else. Well, once you try Markup Hero you'll know for sure, but here are some feature and benefit highlights that you won't get with those other methods.
#1 - Always Editable
When you use the built-in Windows or Mac screenshot and annotation tools, your files get flattened so you can never edit them again. Markup Hero saves all of your annotations so you can easily edit them from any device, anywhere.
#2 - Share Links
What happens when you want to share your Youtube screenshot? With the Windows and Mac solutions we mention here, all you can do is paste the image. Why not use Markup Hero to copy and paste a link to share the image instead? This way if you change the annotations or add pages or edit it, anyone who clicks on the link will always see the latest version.
#3 - Teams & Permissions
Got other people in your gaming group or your work team that you want to share screenshots and annotations with? You can't do that with the Windows and Mac tools, but Markup Here lets you invite team members and share markups and collections.
#4 - Annotate More File Types
Sometimes you already have an image, or maybe a PDF or a Google Doc and you want to add text, arrows, images, boxes, highlights and more on top of your file. Well only Markup Hero will enable you to do all that.
#5 - More Annotation Tools
You can add arrows and boxes and text using Windows Snip or Mac Preview, but you can't do much more than that. If you want a lot more annotation capabilities, inserting images, multiple-pages, crop and expand canvas, blur, colors, shapes and more, you'll need Markup Hero.
#6 - History & Tagging
If you use the built-in Windows and Mac screenshot tools your desktop is going to be a mess real quick. Markup Hero on the other hand will organize and store all of your screenshots for easy access at any time from any browser or device. And add tags to organize even further!
Final Words
Whether you’re on Windows or Mac, taking a screenshot on YouTube is pretty easy and not very different from the conventional methods of capturing a screenshot. However, the conventional methods might not offer you as many diverse features to work with as Markup Hero does. Give it a try, and you’ll see for yourself the wonders this tool is capable of!
And, Markup Hero has a forever free account, you don't even need to signup to test it. Check it out for yourself.